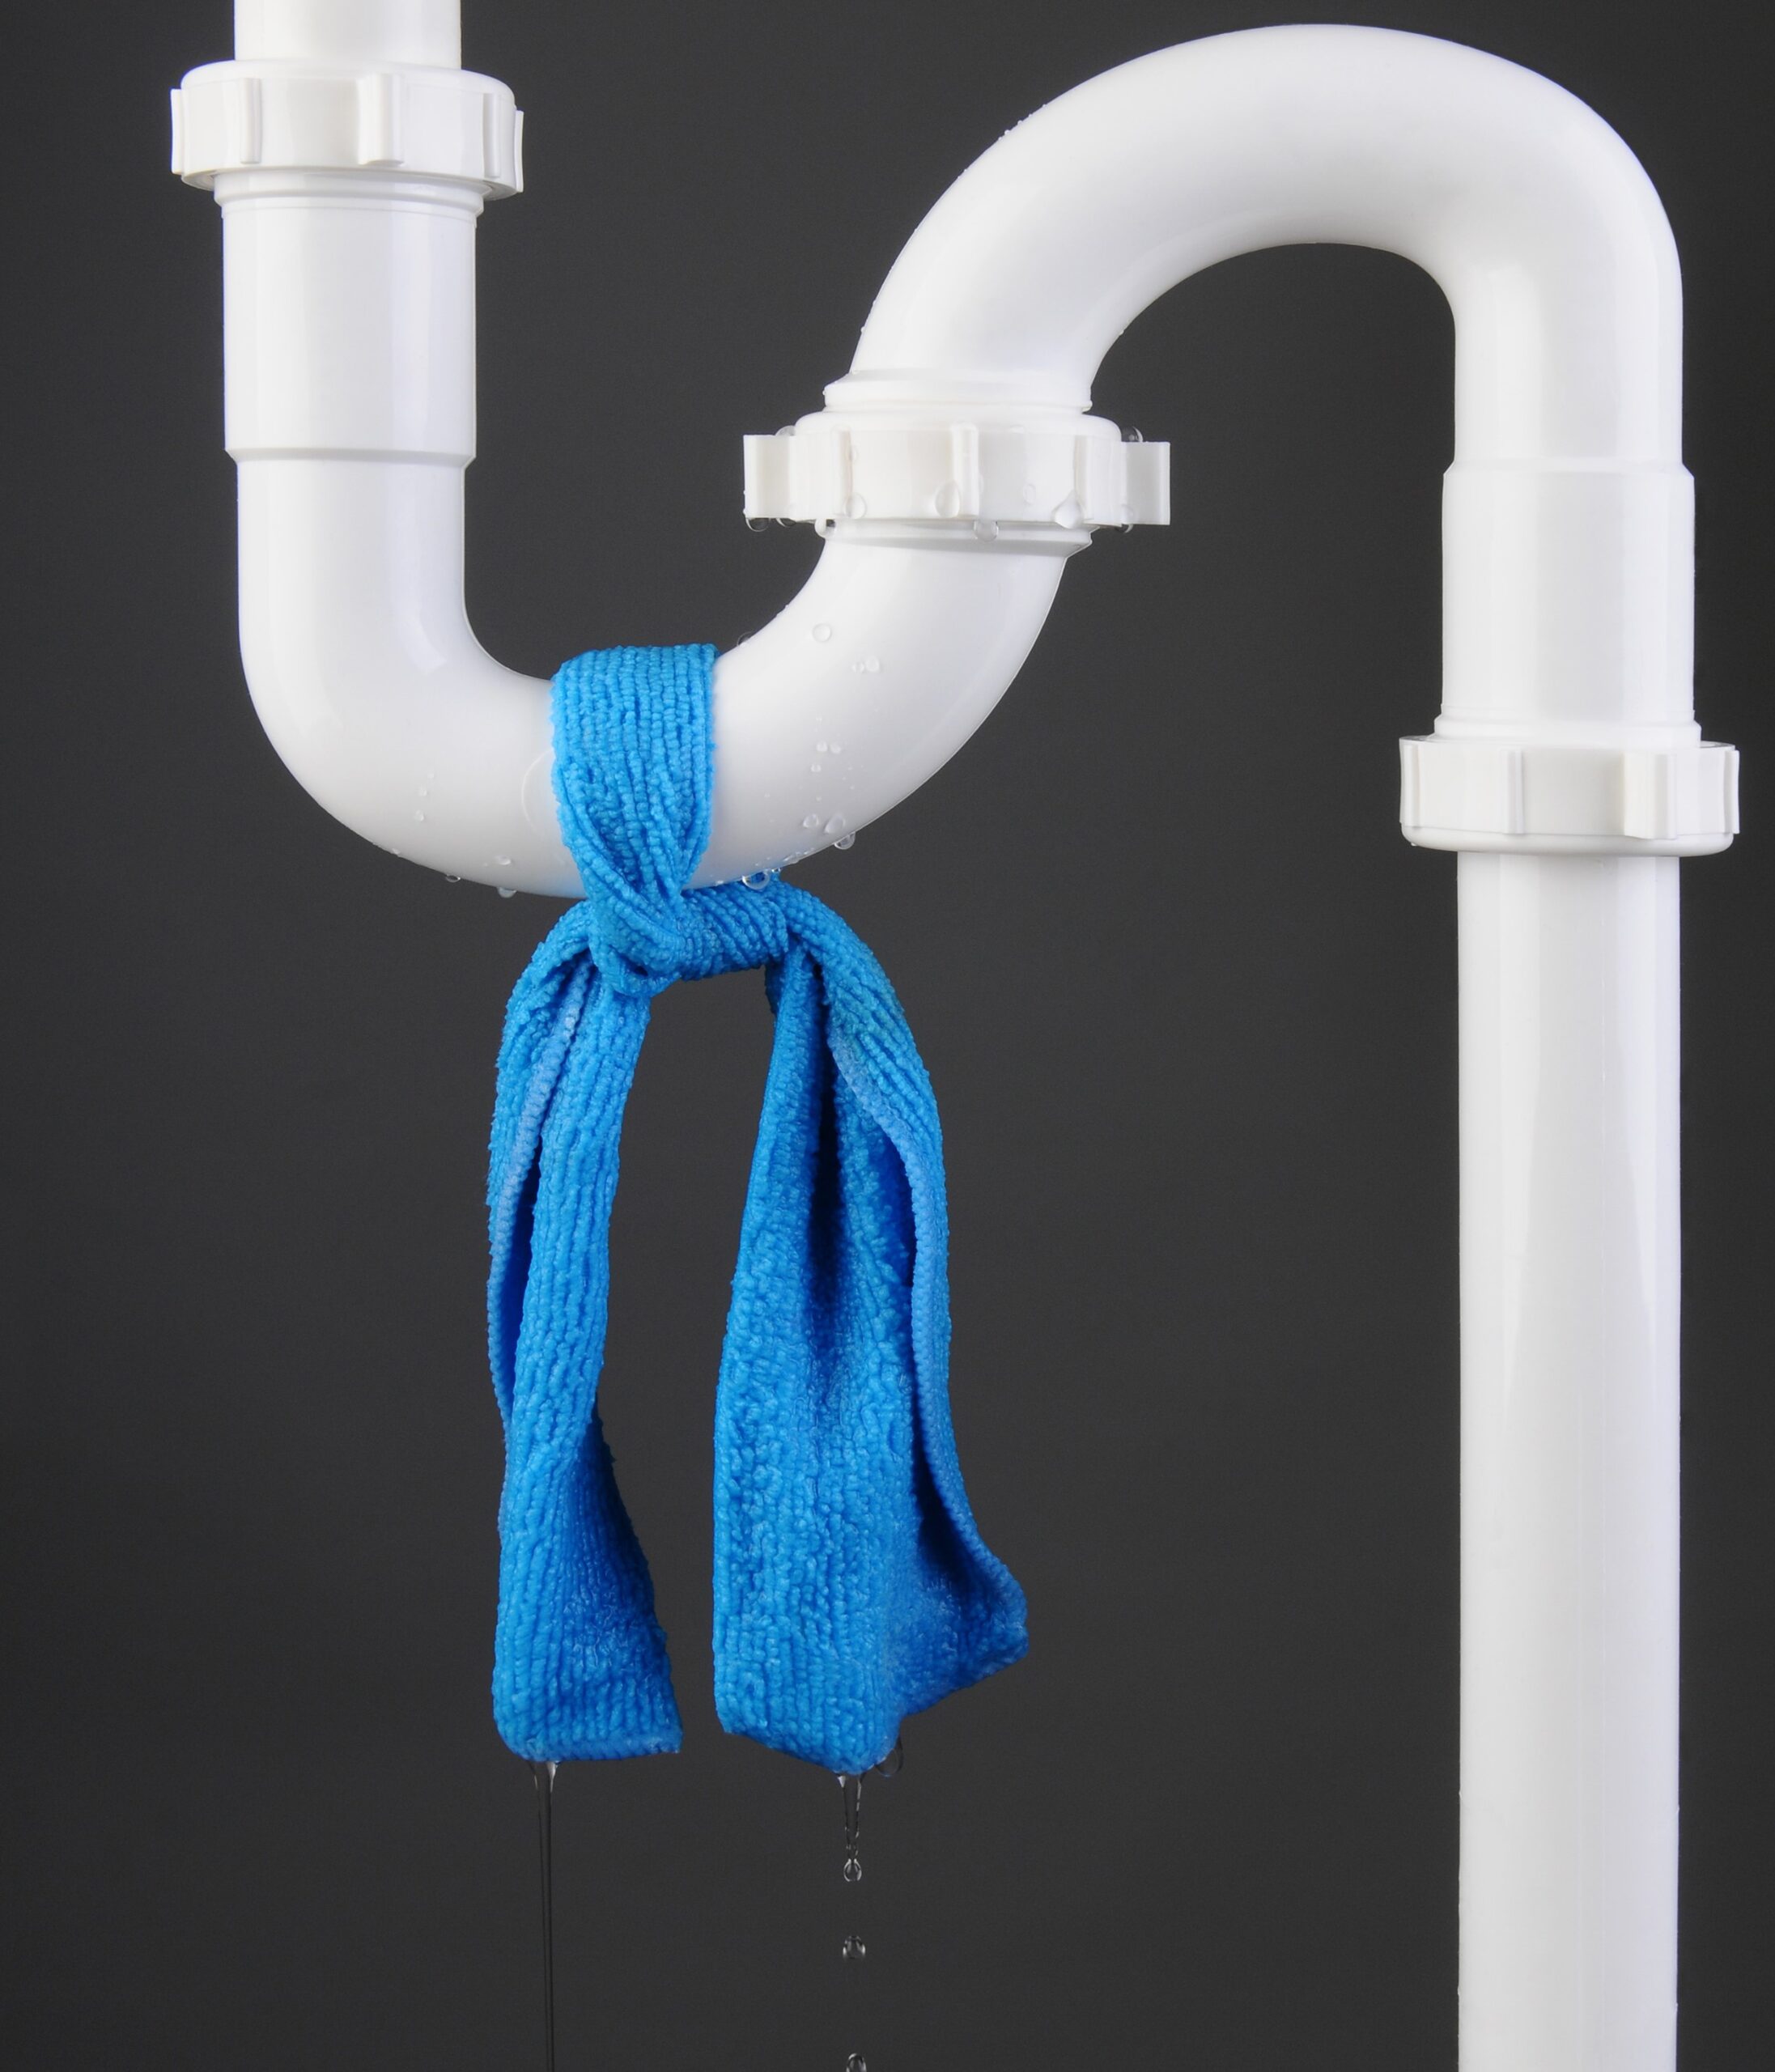
If you need to repair a leaky pipe or restore a damaged fitting, reliable glue for PVC pipe is necessary. With the appropriate PVC glue and some surface preparation, a leak-free connection is achievable.
The procedure is relatively straightforward, though it can be a little messy. Before beginning, be sure to adhere to safety precautions and wear gloves and eye goggles for extra protection.
Preparation
Before you glue pvc pipe together, there are several steps you must take. Start by setting out all of your necessary pieces of pipe, cutting them to their precise sizes and prepping their surfaces with deburring tools or sandpaper. It may also be beneficial to dry fit them together to confirm everything fits correctly and is cut accurately before glueing.
Depending on the scope of your project, you may require multiple types of PVC pipe and fittings. It is essential that you select the correct ones for your task in order to prevent damage during glue application.
Before glueing PVC pipe and fitting together, always clean their surfaces with a special PVC cleaner. Doing so prevents oils, dirt and other impurities from entering into the joint and weakening its seal.
Next, apply primer to both the outside edge of the pipe and fitting. This will eliminate sand and other debris and help promote bonding between both pieces of pipe and fitting. Afterward, your primer is ready for coating with PVC pipe cement from your glue kit.
Next, insert the pipe into the fitting so that it is snug against its inner wall. Doing this allows PVC pipe cement to adhere securely inside of the fitting and create a waterproof and airtight seal.
When adhering, you will need to apply PVC pipe cement quickly and evenly onto both the exterior and interior sides of the pipe and fitting. You can do this with an applicator attached to the glue bottle or foam roller; doing so makes it easier for you to do the task without risking injury to your hands or eyes.
When glueing, it is recommended that you wear gloves and protective eyewear. The chemicals present in glue are highly potent and may lead to serious health complications.
Primer
PVC pipe primer softens the surface of pipes and fittings, making them easier to bond together with cement. Not only does this strengthen the joint connection, but it also extends their longevity. Therefore, PVC pipe primer should be used on all connections that will have liquid media flowing through them.
Primer is an essential step in any PVC plumbing job. It guarantees your joints are strong enough to withstand water’s wrath, as required by AS/NZS 3500 Plumbing and Drainage Standards.
Before applying PVC primer, begin by cleaning and deburring all parts of your project. Doing this ensures they’re free of debris that could clog the joint and make sealing difficult. Next, dry fit the pipe and fitting to ensure they fit perfectly before applying primer and cement.
Applying primer can be a messy task, so manufacturers recommend wearing safety goggles (ideally ones with side shields) and protective gloves. Furthermore, work in a well-ventilated area to avoid breathing the fumes from the solvent.
Once the primer has been applied to both sides of the pipe and fitting, it should dry within 10 seconds. This gives you time to apply cement before the primer sets – waiting more than 10 seconds could cause it to set before you insert the pipe into its fitting, leading to a weaker bond.
Insert the pipe into the fitting and twist it a quarter of the way around while pushing it in place. Doing this ensures a tight fit and helps prevent backout of the joint.
Finally, hold the pipe and fitting together for at least 30 seconds before taking them from their socket. Doing this allows the primer to set and form a strong, watertight bond between both pieces of pipe.
Once the glue has dried, your pipe and fitting should be ready to accept any plumbing fluids passing through them. It must be strong enough to withstand high water pressure while being leak-proof.
Cement
Cement is a building material commonly used in construction and plumbing projects. It’s made from various ingredients heated at high temperatures to form the rock-like substance known as clinker, which is then compacted and packed into bags for transportation.
Cement is ground into a fine powder that’s used for mixing various types of concrete. It typically consists of limestone, clay, shells, iron ore and silica sand; it may also be mixed with other materials to adjust its chemical composition (known as correctives).
Different kinds of cement exist, each with its own specific uses and properties. For instance, some types are stronger than others and can withstand higher water pressures. When selecting your type of cement for your project, take into account what kind of job you have ahead of you.
For instance, if you’re joining PVC pipe, then the cement must be specifically made for that material. Furthermore, make sure the pipe being joined is compatible with the cement; otherwise, chemical bonding between them won’t occur and lead to joint failure.
Before you start glueing, ensure the area where you will be working is clean and free of debris or dust. The glue may release toxins into the air, so it’s best to wear a mask respirator and work in an area with ample ventilation.
Once the area has been cleaned and dried, it’s time to prepare the pipe. With a utility knife, cut away burrs on both ends of the pipe as well as any rough edges inside of it. Doing this helps prevent clogs or leaks when connecting the pipes together.
Next, dry fit the pipe. This should be done prior to beginning glueing so that joints are easier to align correctly. Furthermore, verify that both pipes and fittings can withstand weight of cement without shifting too much.
Once you’ve finished this step, apply cement to both sides of the pipe. Remember that this step takes about 10 seconds to dry, so be sure to insert your pipe into its fitting before the glue hardens.
Curing
PVC pipe and fittings are widely used for waste management, electrical wiring, and fluid transportation. Not only are they durable and easy to install, but also resistant to rust and corrosion.
Additionally, they are cost-effective, lightweight, and easy to transport. As such, they make for a great choice in both residential and commercial construction projects.
When glueing, it is essential to wear protective clothing such as gloves and a mask in order to avoid breathing in chemicals. Furthermore, working in an area with good ventilation is best.
Once the pipes have been securely fastened together, wait for the glue to cure. This could take anywhere from 24 hours depending on the material used.
Before you begin, ensure the pipes are clean and free of debris. Doing this helps prevent adhesive from adhering to other surfaces, potentially leading to a leak.
After inserting the pipes into fittings, make sure they slide until they rest against the shoulder of the fitting. Finally, give them a slight turn for even coverage and faster curing.
When glueing an existing pipe, it is essential to first remove the old glue before applying the new. Doing this allows for stronger bond between the new and old pipe, providing you with a long-lasting joint.
Once the glue has dried, it is critical to allow the joints to cure before pressure testing and turning on your water supply. Doing so before curing allows pipes to fail, burst, leak, or come apart prematurely.
Factors such as temperature, humidity, the fit of your pipe and diameter all play a role in how long it takes for glue to cure in a glued pipe joint. That is why you should check both the manufacturer’s instructions for your particular product and the weather conditions where you live when working.
When glueing pvc pipe, it is essential to remember that the solvents used in glues emit strong fumes that could be hazardous for your health. Wear protective gear like a respirator and gloves while doing this task; additionally, have all materials and tools close at hand as you’ll need to work quickly in order to complete the project.